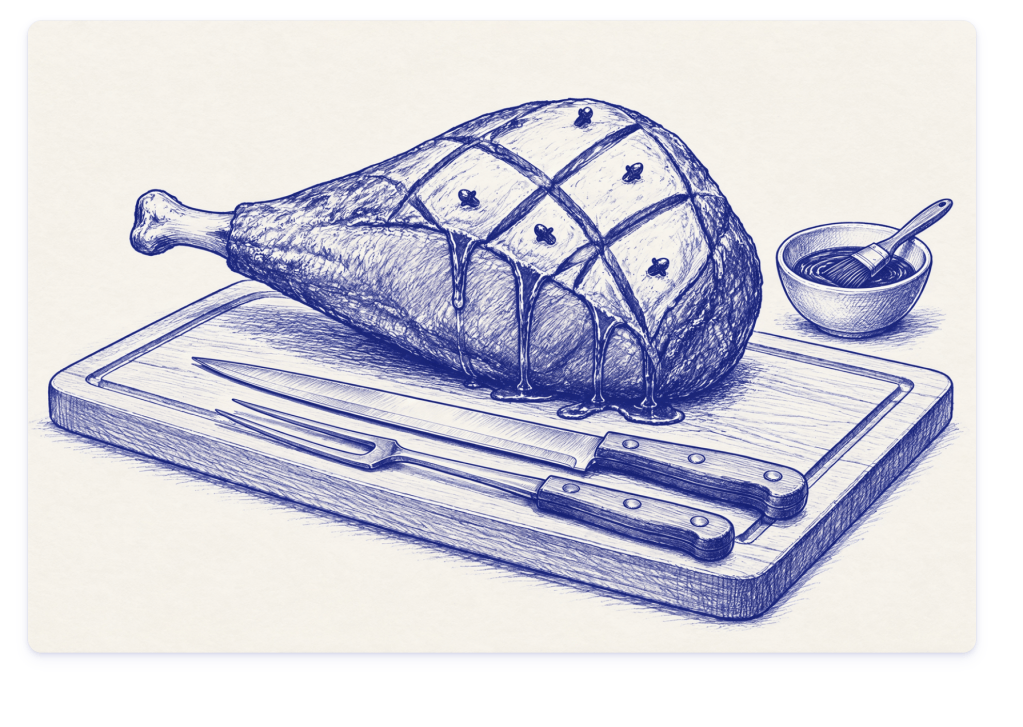
I have glazed more holiday hams than I can count. Club holiday buffets, private Christmas dinners, banquet lines feeding hundreds. And after forty years on the line, I can tell you the one thing that separates a good ham from a great one:
The glaze goes on in layers, never all at once.
That’s it. That’s the whole secret. Everything else in this recipe is just good technique supporting that one rule. Here is exactly how I do it, with my go-to bourbon–brown sugar glaze. It’s the same method I’d use for a banquet of 200, scaled down for your table.
Choosing your ham
Before you glaze anything, buy the right ham.
- Bone-in, whole or half ham. This is what professionals use. The bone carries flavor and keeps the meat juicy, and a bone-in ham forgives timing mistakes far better than spiral-cut. This is my recommendation.
- Spiral-cut. Convenient, but every one of those pre-cut slices is an escape route for moisture. If you use one, cut the glazing time down and tent it aggressively (more on that below).
- Country ham is a different animal entirely — dry-cured, intensely salty, needs soaking. This recipe is for a city ham (the wet-cured, fully cooked kind most people buy for the holidays).
How much? Figure ¾ pound per person bone-in (a pound if you want leftovers, and you want leftovers). A half ham feeds 8–12 comfortably.
The bourbon–brown sugar glaze
This is my holiday glaze. Brown sugar for depth, bourbon to cut the sweetness, Dijon to make it cling, and warm spices for that holiday smell that pulls everyone into the kitchen.
- 1 cup packed dark brown sugar
- ½ cup bourbon (or apple cider, if you’d rather skip alcohol)
- ¼ cup Dijon mustard
- ¼ cup honey
- 2 tbsp unsalted butter
- ½ tsp ground cinnamon
- ¼ tsp fresh ground nutmeg
- Pinch of cayenne
- 1 tbsp apple cider vinegar
Simmer everything in a small saucepan 3–4 minutes, whisking, until the sugar dissolves and it looks like loose caramel sauce. It will thicken as it cools to a syrupy, brushable consistency. Taste it: it should be sweet, warm-spiced, with a faint edge from the bourbon and vinegar. That edge is what keeps the finished ham from tasting like candy.
That little splash of vinegar matters. Every sweet glaze needs acid. Restaurants never forget this, home cooks always do.
The method: score, layer, blast
You’ll need a shallow roasting pan, heavy foil, and a brush. A sharp slicing or chef’s knife matters here — scoring a ham dull and carving it badly is where most home cooks give away their points.
- Score the fat cap. With the sharp tip of your knife, cut a diamond pattern through the fat (not into the meat), about ½ inch deep, lines an inch apart. This is where the glaze pools and lacquers. Stud the center of a few diamonds with whole cloves if you like the classic look — I do, for Christmas.
- Low and slow first. Oven at 325°F (160°C). Rest the ham on a rack in the roasting pan, add a cup of water or cider to the pan, and tent it loosely with foil. Cook to an internal temperature of 115–120°F — roughly 10–12 minutes per pound. The ham is already fully cooked; you are warming it through, not cooking it. A probe thermometer ends all guesswork.
- Glaze in layers. Once the ham hits 115–120°F, take the foil off, raise the oven to 400°F (200°C), and paint on the first coat of glaze. Now the part everyone gets wrong: glaze every 15 minutes, three layers total. Each layer sets and caramelizes before you add the next. One thick coat at the start burns to carbon before the ham is warm inside. Layers build lacquer. Keep the whole glazing stretch inside 40 minutes — sugar burns, and burnt sugar is bitter. If the fat cap darkens too fast, that’s what the foil tent is for. Tent it.
- The blast. Optional, and worth it: for the final 3–5 minutes, a blast under the broiler gives you the crackly, mahogany, banquet-ham edge. Watch it like a hawk. Broiler to burnt is ninety seconds. Pull the ham at 140°F internal, minimum — that’s the safe floor for a fully cooked ham that’s been reheated, and it will still coast up a few degrees as it rests. Don’t rely on carryover alone to get you there; check it with a probe before it comes out.
- Rest, then carve. Rest the ham 20 minutes before carving — that’s when the juices reabsorb. Carve bone-in ham in long slices parallel to the bone, working around it. Don’t fuss about perfect slices at home; even ugly slices of glazed ham taste exactly as good.
Spiral-cut ham: skip the scoring, cut total glazing to 20–25 minutes, and brush glaze into the slices — the cut faces drink it up.
Banquet trick: make it the day before
You can do this completely the day ahead — it’s how holiday banquet service survives:
- Glaze the ham fully the day before, but pull it at 120°F instead of finishing the blast.
- Cool, wrap, refrigerate overnight.
- Next day, slice it cold, shingle the slices in a shallow pan, ladle the pan juices plus a splash of cider over the top, tent with foil, and reheat at 300°F for about 25–30 minutes until just warmed through — check that it reaches 140°F internal before serving.
Sliced, covered, and moist, a ham reheated this way is better than most hams served fresh the same day.
Don’t throw away the bone
The ham bone is half the reason to buy bone-in. Drop it into a pot with split peas, or a pot of collards, or a pot of white beans with garlic and thyme. Best soup stock you’ll ever make is free and sitting in your fridge the day after Christmas.
Common mistakes
- An oven that isn’t right for the stage. Too cool at the start and you’re there all day; too hot too early during glazing and the sugar burns before the ham is warmed through. Keep the two stages — 325°F to warm, 400°F to glaze — separate.
- One thick coat of glaze instead of layers. It scorches on the outside while the inside is still cold. Three thin layers, 15 minutes apart, inside a 40-minute window.
- Pulling the ham too early. 140°F internal is the floor, not a suggestion — this is a fully cooked product being reheated, and it needs to get there. Use a probe thermometer; don’t guess from color.
- Skipping the acid in the glaze. A glaze that’s all sugar turns candy-sweet on a hot ham. The vinegar is what keeps it tasting like food.
- Carving cold. Rest 20 minutes before you carve. Cutting into it straight from the oven loses the juices you worked to keep in.
FAQ
How do I keep my ham from drying out? The foil tent, the water in the pan, and pulling it at 140°F — not higher than you need to. Ham is fully cooked already; you’re just warming and glazing. Overcooked ham is dry ham, every time.
Why did my glaze burn? Glaze went on too early, too thick, or the oven was too hot for too long. Remember: glaze only in the final 40 minutes, in three layers. Dark spots? Tent with foil and carry on.
Spiral-cut or whole bone-in? Whole bone-in tastes better and holds moisture better. Spiral-cut is easier to serve. If timing and convenience win, buy spiral and follow my notes above.
Can I make the glaze without bourbon? Yes — apple cider works beautifully. The glaze just wants something with a bit of edge to balance the sugar.
How far ahead can I buy the ham? A sealed cured ham keeps 2 weeks refrigerated. Buy early during the holiday rush, glaze the day you serve.
The short version
- Buy bone-in if you can — it forgives timing mistakes and holds moisture.
- Warm it slowly at 325°F to 115–120°F internal, tented with foil and a little liquid in the pan.
- Raise the oven to 400°F and glaze in three thin layers, 15 minutes apart, inside a 40-minute window.
- Pull it at 140°F internal minimum, rest 20 minutes, then carve.
- Keep the bone for stock — it’s the best soup you’ll make all winter.
If you like a slow-oven holiday centerpiece, you may also enjoy my baeckeoffe recipe, and for the knife you’ll want for scoring and carving, see my post on the best chef’s knife for home cooks.

Leave a Reply