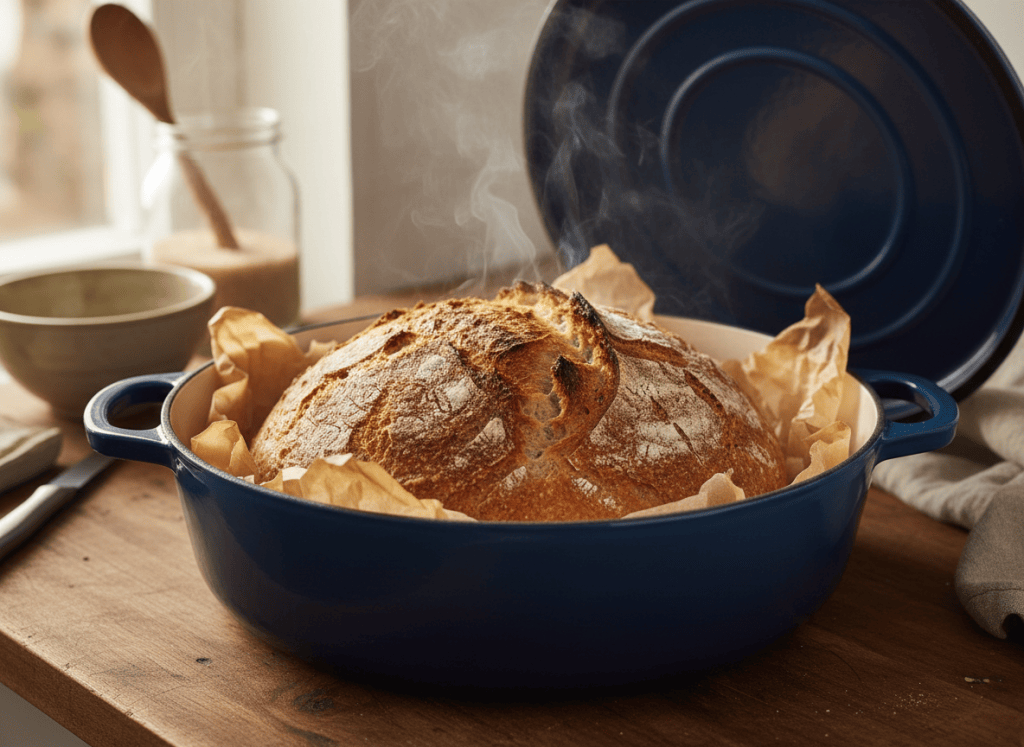
Of everything a Dutch oven can do, bread might be the single best argument for owning one. The enclosed, heavy pot traps steam around the dough as it bakes, which is exactly what you’d get from a professional steam-injected bread oven — something no home oven does on its own. The result is a crackling, deeply colored crust and an open, airy crumb, with almost no technique required.
This is the no-knead method — barely adapted from the technique that made home bread baking accessible to everyone. No mixer, no kneading, no shaping skill required. Just time and a good pot.
Ingredients
| Quantity | Ingredient |
|---|---|
| 3 cups (400g) | all-purpose or bread flour |
| 1¼ teaspoons | salt |
| ¼ teaspoon | active dry or instant yeast |
| 1½ cups (350ml) | water, room temperature |
| — | extra flour or cornmeal, for dusting |
Method
1. Mix (5 minutes)
In a large bowl, whisk together the flour, salt, and yeast. Add the water and stir with a wooden spoon or your hand until you have a shaggy, sticky dough with no dry flour remaining. It will look rough and wet — that’s correct, don’t add more flour.
2. First Rise (12–18 hours)
Cover the bowl with plastic wrap or a damp towel and let it sit at room temperature. This is the step that replaces kneading — a long, slow fermentation develops the gluten structure for you. The dough is ready when it’s more than doubled, dotted with bubbles, and the surface looks loose and webby.
3. Shape (10 minutes)
Turn the dough out onto a well-floured surface. Fold it over on itself once or twice, then shape it loosely into a ball — don’t overwork it. Place it seam-side down on a piece of parchment paper, dust the top with flour, and cover loosely. Let it rest for about 2 hours, until roughly doubled again.
4. Preheat the Pot
About 30 minutes before baking, put your empty Dutch oven, lid on, into the oven and preheat to 450°F. The pot needs to be genuinely hot before the dough goes in — this is what gives you the initial burst of oven spring.
5. Bake (45–50 minutes)
Carefully remove the hot pot, lift the dough (with the parchment paper) and lower it into the pot. Cover and bake for 30 minutes. Remove the lid and bake for another 15–20 minutes, until the crust is deeply browned. Let it cool on a rack for at least 30 minutes before slicing — cutting too early makes for a gummy crumb.
Staub vs Le Creuset for Bread: I Tested Both
Since I own and use both regularly, I baked this exact loaf side by side in a Staub 7-quart Cocotte and a Le Creuset 5.5-quart Dutch oven to see if the difference I’d written about in my full Le Creuset vs Staub comparison actually held up for bread specifically. It did — and for one very concrete reason.
| Staub | Le Creuset | |
|---|---|---|
| Knob material | Brass/nickel — no heat limit | Phenolic (plastic) — capped at 500°F |
| Preheat temperature used | 450°F, no issue | 450°F, no issue (under the 500°F cap) |
| Crust color | Slightly deeper, more even | Good, marginally lighter |
| Oven spring | Slightly better | Good |
| Handling the hot lid | Easier — metal knob, no melting risk | Fine at 450°F, but no margin if you want to push hotter |
At 450°F, both pots perform well — this recipe doesn’t push either one to its limit. The real difference shows up if you ever want to bake hotter, closer to 475–500°F, which some bread recipes call for to maximize crust color and oven spring. At that range, the Le Creuset’s plastic knob is at or near its ceiling, while the Staub’s metal knob has no such concern. If bread becomes a regular habit rather than an occasional project, that headroom is worth having.
My honest recommendation: for this specific recipe at 450°F, either pot works beautifully, and I wouldn’t buy a new pot just for this. But if you’re choosing between the two specifically with bread in mind, the Staub is the safer long-term choice.
Staub 7-Quart Round Cocotte
Le Creuset 5.5-Quart Round Dutch Oven
Want the full breakdown beyond bread — durability, browning, price, and which one I’d actually keep? See the complete Le Creuset vs Staub comparison, or check everything I currently use in the kitchen on How I Stock My Kitchen.
As an Amazon Associate, I earn from qualifying purchases.
 The Seasoned Bench
Leave a comment